USB-C Hub Not Charging? 6 Laptop Power Checks
A USB-C hub not charging your laptop does not automatically mean the hub is broken. The charger, cable, input socket, laptop port and available power all matter. Start with a direct-charging check before buying replacement equipment.
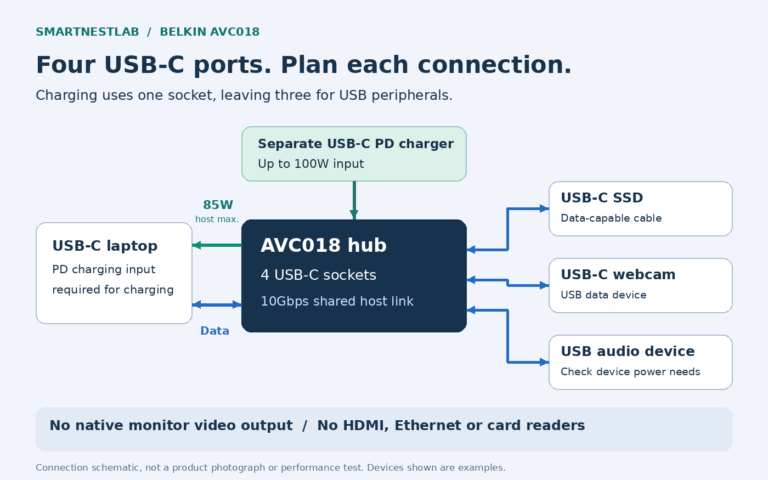
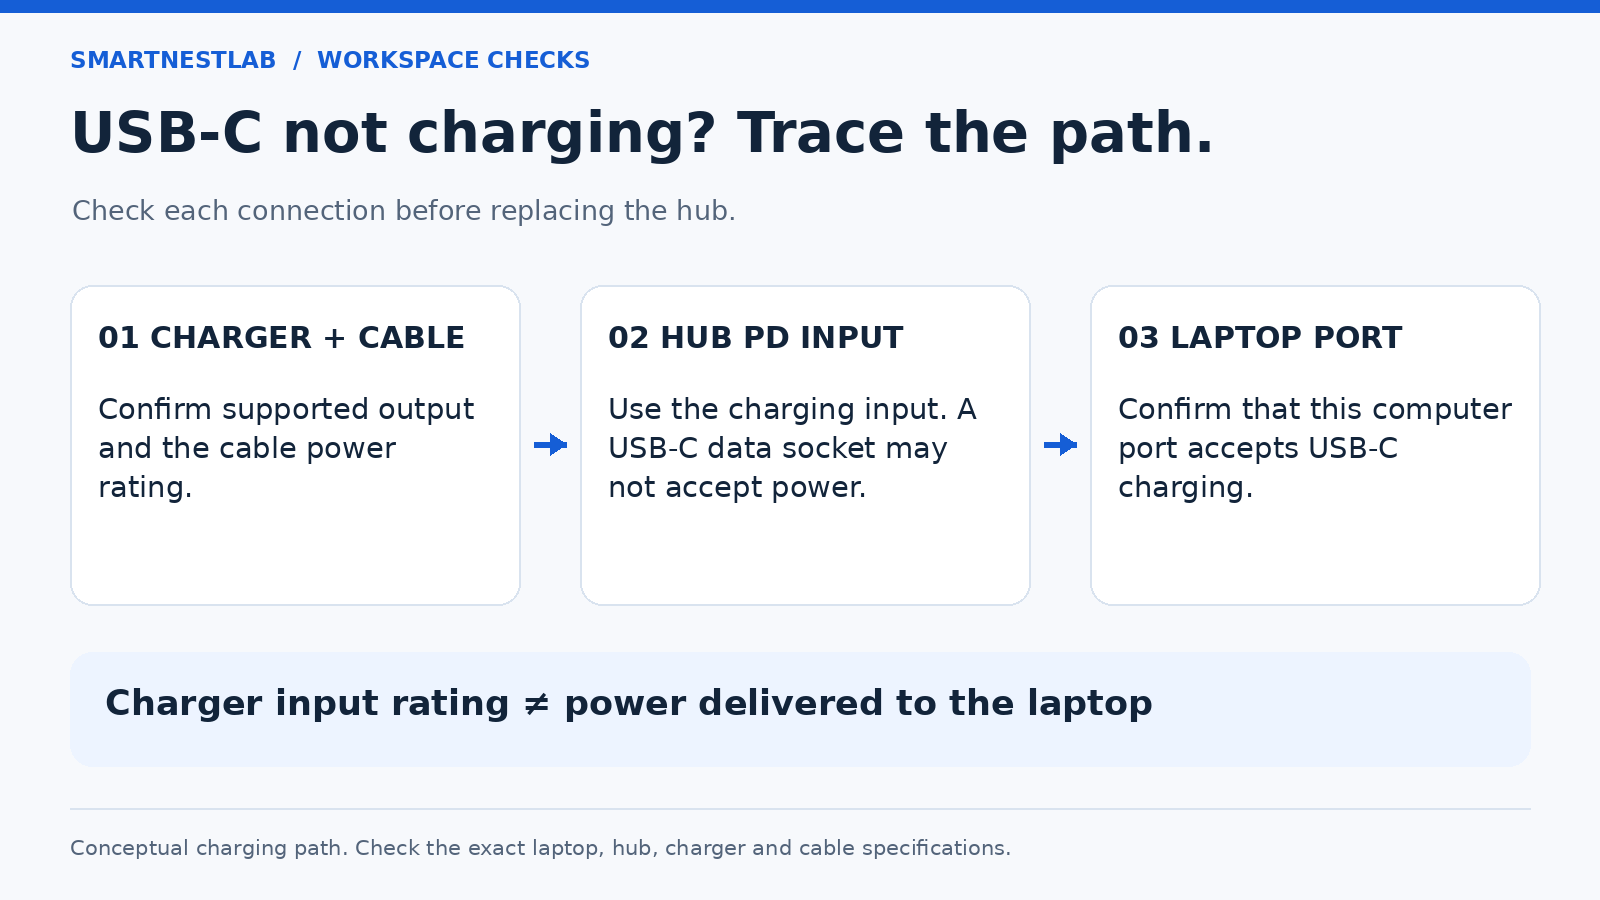
This guide uses manufacturer documentation checked on October 20, 2026. It is not a hands-on test. The diagram below explains the charging path; it is not a product photograph.
Which charging symptom do you have?
No charging, even directly
Start with the approved charger connected to the laptop without the hub.
Compare direct and hub charging →Battery drains during work
Compare the documented power budget and the conditions under which the battery drops.
Check workload and accessories →It pauses at the same percentage
Read the battery status and check whether a charging limit is intentional.
Check charging controls →Choose the closest symptom to find a starting check. This does not identify the failed component.
1. Test the Laptop Without the Hub
Save your work and safely eject attached storage. Disconnect the hub, then connect the laptop’s original or manufacturer-approved charger directly to its supported charging port. Use the normal charging cable and a known working outlet.
If direct charging also fails, investigate the laptop, charger or cable first. If it works, adding the hub back creates a useful comparison; it does not prove which component is responsible. Record the battery message in each setup.
2. Find the Correct Charging Ports
Read the laptop manual for the exact port that accepts power. A USB-C connector that handles data does not, by itself, establish charging support. Microsoft’s USB-C troubleshooting guide identifies an unsuitable port as one possible cause.
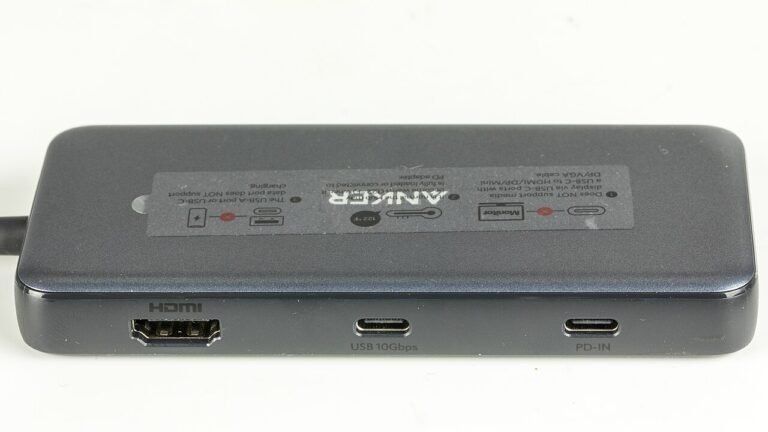
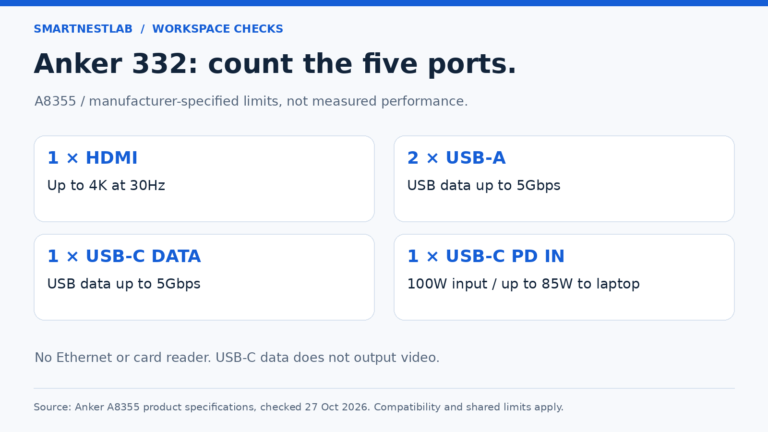
On a pass-through hub, connect the charger to the socket labeled PD-IN or the input specified in its manual. Connect the host lead to the laptop. Do not assume a separate USB-C data socket is a charging input. Some hubs have no pass-through charging at all.
3. Compare Input Power With Laptop Output
Write down three separate figures: your charger’s supported output, the hub’s accepted input and its maximum output to the laptop. Compare that last figure with the laptop manufacturer’s charging requirements, including the supported voltage and current; total wattage alone does not establish compatibility. With a multiport charger, check the output available from the port in use when other devices are connected. The largest number printed on the hub is not necessarily its laptop output.
For example, Anker specifies up to 100W input and 85W laptop output for the 555 A8383, reserving 15W for operation. That allowance is model-specific, not a rule for every hub. A higher-rated charger cannot increase the hub’s stated 85W ceiling.
| Source rating | Same 85W host-output hub | What you can conclude |
|---|---|---|
| 65W source | 85W published ceiling | The source cannot supply 85W through the hub; actual output is not established here |
| Suitable 100W source | 85W published ceiling | Up to the documented 85W, subject to supported negotiation; not a guaranteed reading |
| Suitable higher-rated source, such as 140W | 85W published ceiling | The hub still cannot provide more than its 85W host ceiling |
Our Anker 555 fit guide explains this particular model. If your laptop needs its original power supply for demanding work, keeping that charger connected separately may be the appropriate setup.
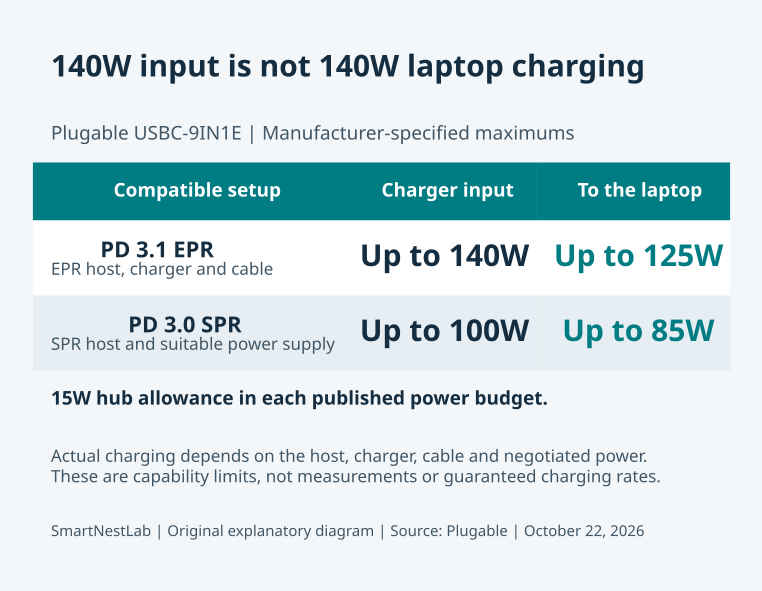
If these checks confirm that you need more than 85W through a hub, see when the Plugable USBC-9IN1E can deliver 125W. Plugable rates it for up to 85W to the laptop in a Standard Power Range (SPR) setup, so a 140W charger alone won’t deliver 125W through this hub. The 125W ceiling requires a compatible PD 3.1 Extended Power Range (EPR) laptop, charger, and cable. Work through the charging checks before replacing the hub.
4. Check the Cable’s Power Rating
Use a cable approved for the charger, hub and required power level. A matching connector or fast data-transfer claim is not enough. If the host cable is detachable, also check the hub’s connection requirements before substituting another one.
Apple’s adapter troubleshooting guidance recommends checking the charging cable and trying a suitable alternative. Change one component at a time so you can identify which substitution changes the result.
5. Try a Minimal Setup at a Lighter Workload
After safely ejecting storage, remove optional accessories and reconnect only the charger, hub and laptop following the hub manufacturer’s instructions. Close demanding applications for the comparison. If charging improves, you have narrowed the conditions to investigate, not measured the available wattage.
Apple explains that a Mac may consume more power than its source provides during demanding tasks in its “Not Charging” guidance. Compare battery behaviour during your usual work before deciding a setup meets your needs.
6. Check Battery Charging Controls
A paused battery percentage can be intentional. Apple’s optimized charging and charge-limit guide describes controls that can delay charging or stop at a selected level, depending on the Mac and software. Other laptops have their own manufacturer battery settings.
Read the actual status message and your model’s instructions. Avoid disabling battery protection just to make a charging icon change. A charging limit is different from a battery continuing to drain unexpectedly.
What Should You Do Next?
| Observed result | Record before changing parts | Next step |
|---|---|---|
| Direct charging fails too | Laptop port, approved charger and cable models, battery message and workload | Follow laptop support guidance for the charger, cable and battery. |
| Direct charging works; the hub path fails | Hub model, PD input socket, exact charger port, cable and accessories attached | Confirm the documented input, host support and laptop output; change one item at a time. |
| The hub works with optional accessories removed or only at lighter workloads | The one condition changed, test duration and battery percentage before and after | Reassess the documented power budget for normal work; an icon alone does not measure watts. |
| Battery percentage pauses at an intentional limit | Exact status message and the manufacturer’s charging-control setting | Check the documented control rather than treating a planned pause as a failed hub. |
If the documented setup still fails, contact the laptop or hub manufacturer with both model numbers, charger rating, cable details and the exact warning. Stop using visibly damaged cables or adapters.
Before replacing the accessory, use our hub versus docking station guide to check whether a different power arrangement would solve the specific problem.