
Monitor Arm vs Riser: Which Fits Your Desk?
Choose a monitor arm when you need flexible screen positioning and your display and desk support the installation. Choose a monitor riser when you only need a stable lift or storage beneath the monitor. If the original stand already fits your working position, keep it.
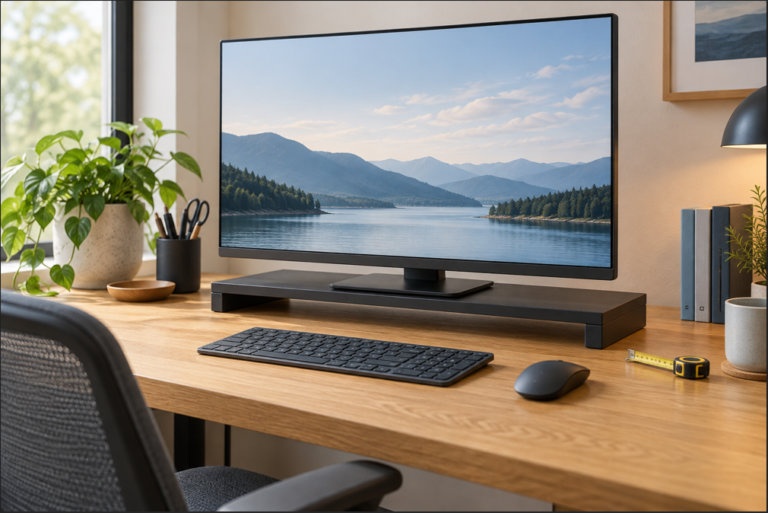
This article contains affiliate links. As an Amazon Associate I earn from qualifying purchases. This is a research-based comparison, not a hands-on product test. The featured image is an AI-generated illustration of generic equipment.
Before you choose
A stable riser may be enough if its available settings fit.
Check an arm’s load, VESA pattern and mounting clearance.
Keep the original stand if it provides the position you need.
Monitor Arm vs Riser: The Practical Difference
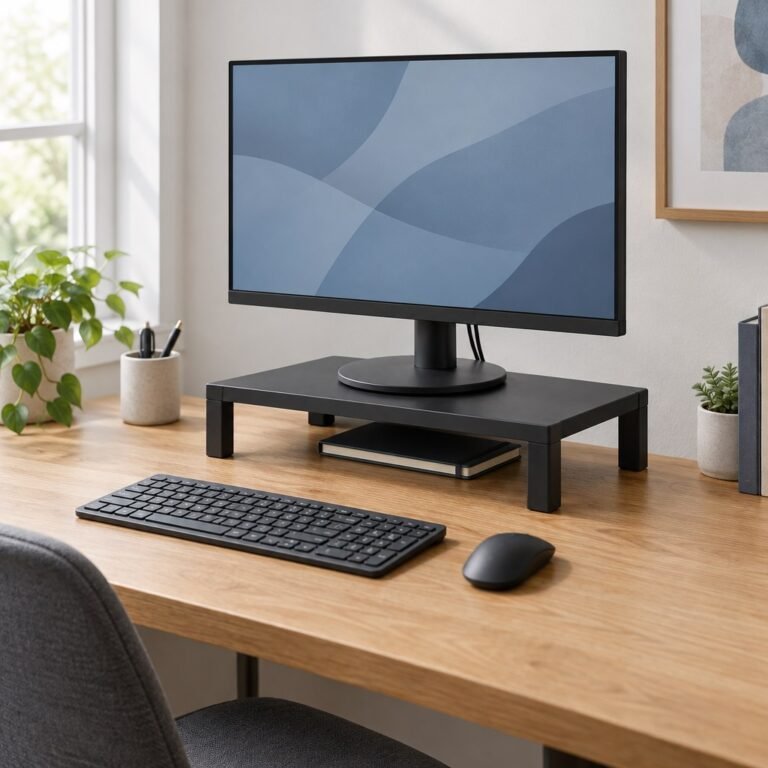
Here, “riser” means a shelf placed beneath the monitor’s original base. An arm attaches to the display and a suitable desk or wall mount. A freestanding VESA stand is another category: it can offer adjustment without a desk clamp, but still occupies desktop space.
| Your priority | Option to consider | Main check |
|---|---|---|
| A fixed lift with simple setup | Riser | Height, load rating, and base footprint |
| Changing height, reach, or orientation | Adjustable arm | Actual movement range and display compatibility |
| Storage beneath the display | Shelf-style riser | Usable space and typing clearance |
| Removing a large monitor base | Arm | Mounting space and desktop strength |
| Already comfortable screen placement | Original stand | No purchase needed |
Three Setups That Change the Answer
These invented scenarios show how to rule out the wrong category. They are not customer results or installation approvals.
1. A 2-inch lift
Your original stand is fully raised and the screen still needs exactly 2 inches. A riser with a 3-inch minimum overshoots by 1 inch.
Decision: check each available setting. A lower minimum alone is not enough: the MS80B jumps from 1 to 2⅝ inches.
2. A base deeper than the shelf
The monitor’s load-bearing base extends 28cm front to back; the candidate shelf offers 25cm of usable support in that direction. It is 3cm short.
Decision: reject that shelf in this orientation, even if the monitor is below its weight limit. A different riser or compatible mount needs its own checks.
3. A desk edge you cannot clamp
You want the screen to move, but a fixed drawer blocks the proposed clamp. A matching VESA pattern does not solve that desk-side obstruction.
Decision: pause the clamp purchase. Check a manufacturer-approved mounting position or method. If none fits, keep the stand while evaluating another setup.
The measurements above are examples, except the MS80B settings calculated from 3M’s published range and increment. Ergotron’s VESA guide explains the display-side interface; the exact mount and desk instructions still govern installation. Sources checked October 30, 2026.
Choose the Position Before the Product
Sit in your usual chair with the keyboard in place. Adjust the original stand first. OSHA’s monitor guidance places the screen top at or below eye level and emphasizes readable text without leaning forward.
Use our monitor height guide and viewing distance guide to identify the missing adjustment. A riser only raises the existing setup; it cannot make an already high screen lower.
When a Monitor Riser Makes Sense
A riser suits a screen that needs a modest, consistent lift and rarely moves. It keeps the original stand and avoids mounting the display to an arm. A shelf can also provide storage, provided it does not push your keyboard toward the desk edge.
Measure the entire base footprint, the required lift, and the available desktop depth. Confirm the riser’s load rating and keep the monitor base fully supported. For narrower shelves, compare our small-desk monitor riser options, which start at 3 inches or higher. If you need a lower starting point, the 3M MS80B guide covers a 1-inch minimum, but its 15 × 12-inch footprint is larger. Neither height nor footprint alone establishes fit.
For a shelf-style example, compare the ROCDEER listing already included in our desk accessories guide. Check the selected size and height against your measurements.
Check the ROCDEER monitor riser on Amazon →
When a Monitor Arm Is Worth Considering
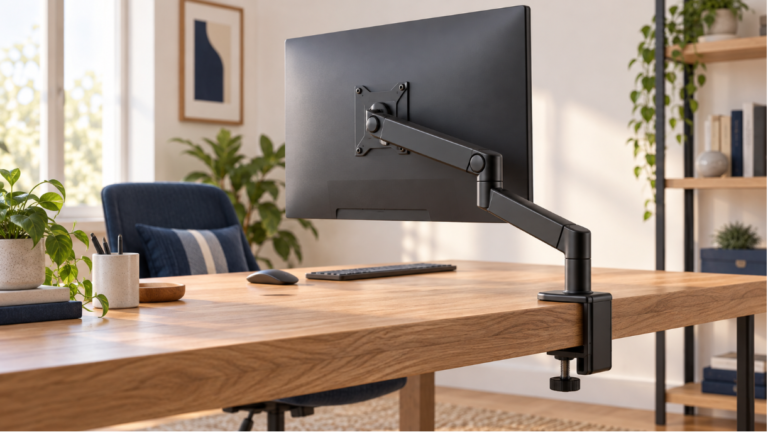
An arm can remove the original base from your work area and make repositioning easier. However, arms differ: a pole mount may require manual height changes, while an articulated arm may offer more reach. Check the actual mechanism and range.
- Display fit: use the monitor’s weight without its stand and confirm the mounting pattern. Check minimum as well as maximum supported weight where specified.
- Desk fit: measure thickness and inspect the top and underside for frame rails, drawers, or beveled edges. Check that the desktop material supports the chosen mount.
- Movement space: allow room near the wall and enough cable slack through the intended range.
Ergotron’s VESA guide explains why the mounting interface and display weight matter. Screen diagonal alone is not a compatibility check. Follow the monitor and mount instructions; do not assume a clamp suits glass or a hollow desktop.
Compare the options in our monitor arm buying guide. The ErGear single-arm listing is one example to evaluate against those checks, rather than an automatic choice for every desk.
Check the ErGear single monitor arm on Amazon →
Two Questions Before Ordering
Will an arm stop monitor wobble?
Not necessarily. Desk movement, installation, and arm position all matter. A mount cannot guarantee a rigid setup on an unstable desk.
What if I use two monitors?
Plan both screen positions and mounting requirements. A wide riser needs space and sufficient capacity; a dual arm must support each display. Start with our dual monitor layout guide.
Which Should You Buy?
Choose the simplest option that supplies the adjustment you actually need. Buy a riser for a measured lift, an arm for verified positioning needs, or keep the original stand when it already works. Check fit before comparing appearance or price.