How High Should Your Monitor Be? A Practical Home Office Guide
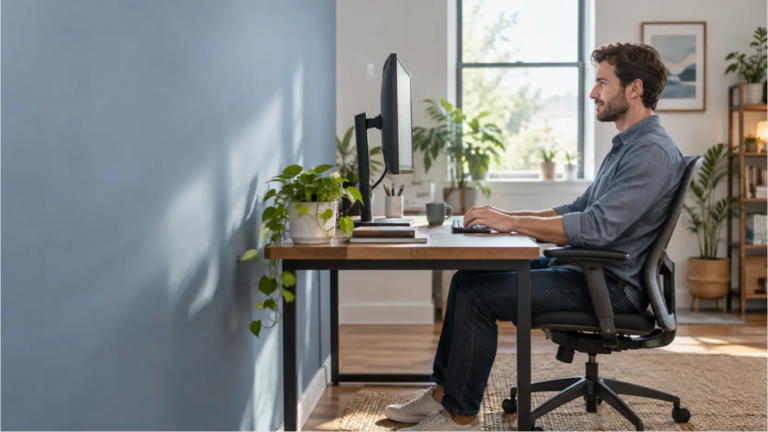
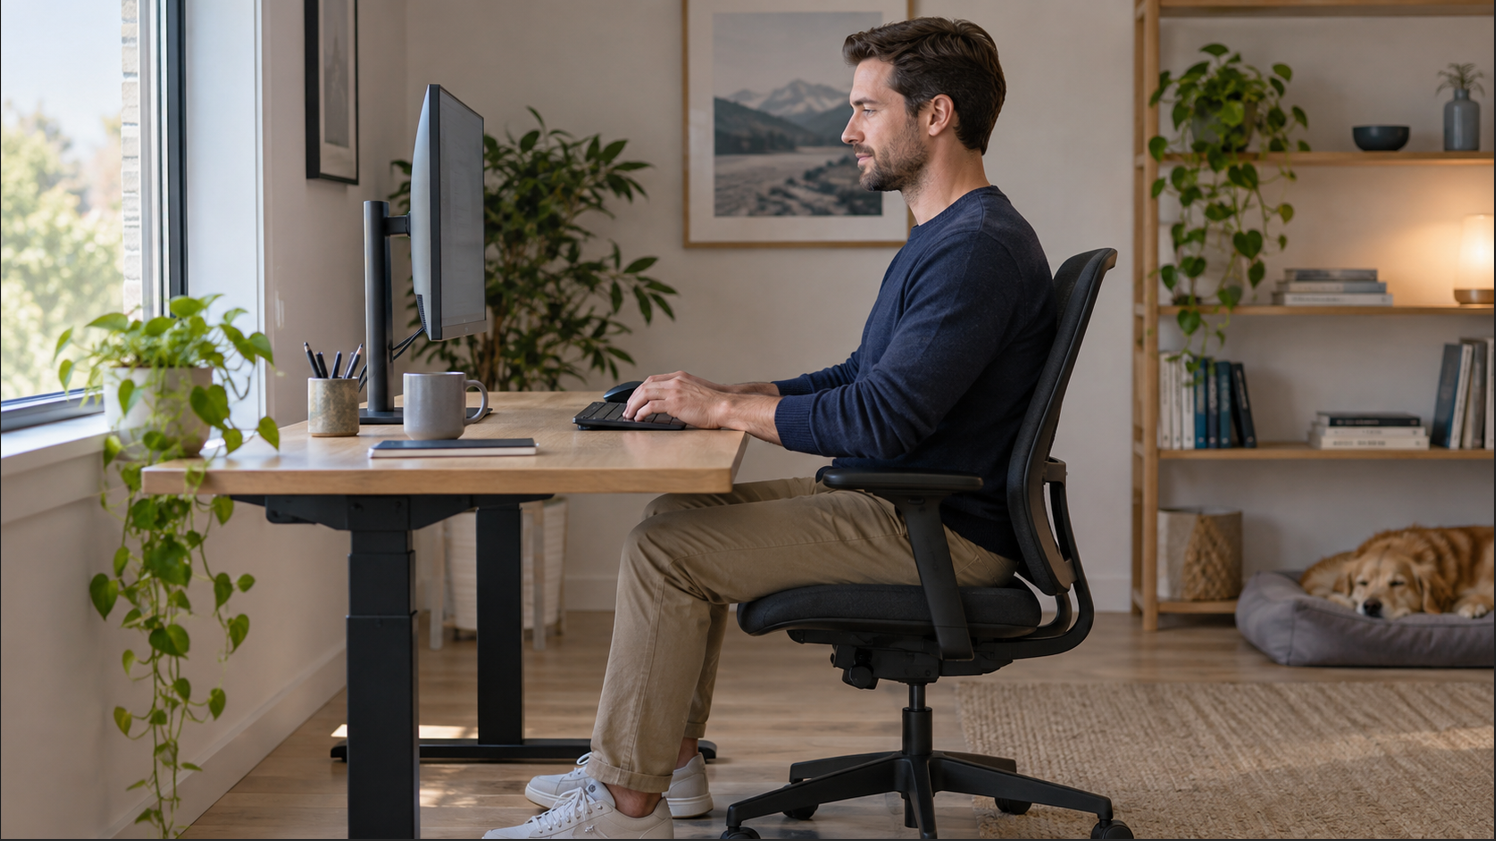
Start with the top of your monitor’s visible screen at eye level or slightly below it. Your eyes should look gently downward toward the main work area while your head stays comfortably balanced. OSHA uses this top-edge reference and places the screen’s center below the horizontal line of sight. Source: OSHA’s monitor guidance.
The useful question is how to reach that position with your own chair, desk, screen, and glasses. A fixed number of inches above the desktop cannot account for all those differences.
This guide helps you make the adjustment, check it during real work, and decide whether an accessory would solve a specific limitation. Start with the equipment you already own.
Does “Eye Level” Mean the Top or the Center?
Use the top of the display area as your starting reference, rather than putting the screen’s center directly in front of your eyes. A webcam attached above the screen is not the reference point.
For example, imagine replacing a smaller screen with a taller one while keeping its center in the same place. The upper edge moves upward. Recheck the new screen’s position instead of assuming that an unchanged stand means an unchanged setup.
Guidelines provide an initial position, not a requirement to hold your body still. CCOHS emphasizes adjusting monitor placement to the person and task. Its guidance also keeps the top of a portrait-oriented screen from extending above the user’s eye level. Source: CCOHS monitor positioning.
Adjust Your Monitor in Five Steps
1. Settle your chair and typing position first
Sit with your back supported and your feet resting on the floor or a suitable footrest. Position the keyboard and mouse so your shoulders can relax and your hands are near or slightly below elbow height. Mayo Clinic recommends considering these parts together. Source: Mayo Clinic’s office ergonomics guide.
Changing your seat height changes your eye height, so finish that adjustment before measuring the screen. If the desktop is the obstacle, work through our guide to finding the right desk height first.
2. Compare your eye height with the screen
Ask someone to look from the side, or use a side-on photo taken at approximately eye height. Check the visible upper edge against your relaxed forward gaze. Avoid sitting unusually tall just for the measurement.
You do not need a permanent mark on the wall. A temporary reference on a nearby surface can make it easier to compare settings, particularly if the stand moves in small increments.
3. Move the screen and record the change
Try the stand’s built-in adjustment first. Consult its instructions if the mechanism is unfamiliar; some stands have a release or locking arrangement.
If you are planning a riser, measure the gap you want to close before shopping. For instance, a measured two-inch shortfall suggests looking for roughly two inches of additional lift, followed by a fit check. It does not establish a universal two-inch riser recommendation.
4. Open the work you actually do
Use a normal document, spreadsheet, or browser window. Read several lines, edit a cell, and switch between applications. An empty desktop background gives you little information about where you spend time looking.
Write down what still needs attention: screen height, small text, reflections, or an awkwardly placed work window. Keeping those observations separate helps you avoid moving the screen repeatedly to solve an unrelated problem.
5. Recheck during a normal work session
Return to your usual tasks and see whether the adjustment remains practical. This is a personal fit check, not a clinical test or proof that a setup will prevent pain.
Save a brief note with the stand setting and what changed. If you share the desk, each person can keep their own reference instead of starting the adjustment process from scratch.
Check Readability and Reflections Before Changing Height Again
If text looks small, try enlarging the application’s text or using display scaling before leaning closer. CCOHS suggests approximately an arm’s length as an initial viewing distance, adjusted to the user, and recommends increasing text size when needed. Source: CCOHS viewing-distance guidance.
For a step-by-step way to fine-tune that measurement, see how far your monitor should be from your eyes.
A washed-out patch or bright reflection needs a lighting check. Reposition the screen relative to windows, adjust blinds, and direct a task lamp onto the work surface rather than the display. CCOHS recommends controlling glare through lighting and placement. Source: CCOHS eye-discomfort guidance.
Our suggested order is simple: identify what makes the page difficult to use, change one relevant setting, then reopen the same page. This makes the result easier to judge than changing height, distance, brightness, and zoom at once.
Adjustments for Different Setups
If you wear bifocals or progressive lenses
You may prefer a lower screen position to avoid lifting your chin to look through the appropriate lens area. CCOHS identifies this as an important exception to a standard monitor setup. Source: CCOHS monitor positioning.
Check the setup wearing the glasses you actually use for work. If clear vision requires an awkward head position even after adjustments, discuss your screen distance and tasks with an eye-care professional. Computer-specific prescriptions depend on individual visual needs. Source: CCOHS computer-specific glasses guidance.
If you work on a laptop
Raising the laptop also raises its attached keyboard. For regular desk use, an external keyboard and mouse let you position the screen separately from your hands. Mayo Clinic recommends considering these alongside a laptop stand. Source: Mayo Clinic’s laptop guidance.
When comparing options, list the complete setup you need. A stand’s cost and desk footprint are only part of the decision if you also need separate input devices.
If you use two monitors
With one main screen, place it directly ahead and angle the secondary screen beside it. With equal use, arrange both in front of you in a shallow arc, with their adjacent edges together. Keep viewing heights consistent where practical. Source: CCOHS multiple-monitor guidance.
Decide which arrangement matches your workload before choosing a dual-monitor mount. A screen used for occasional messages has a different role from one used continuously for reference material.
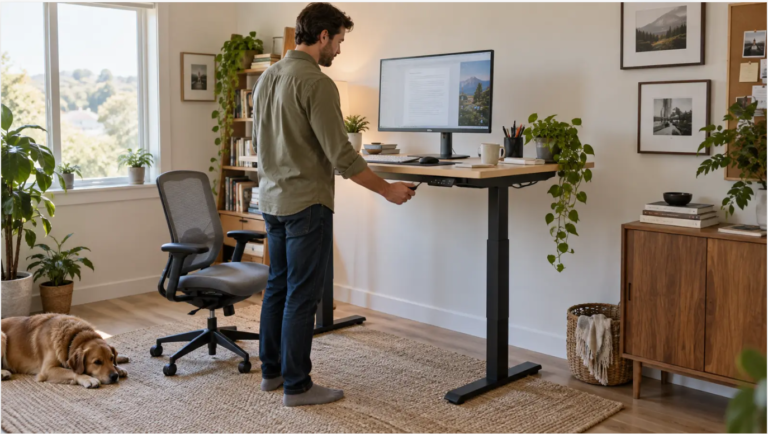
If you switch between sitting and standing
Check both positions independently. CCOHS recommends setting the standing work surface around elbow height while maintaining a neutral working posture and a suitable downward viewing direction. The desk must accommodate both seated and standing use. Source: CCOHS sit/stand desk guidance.
Before saving desk presets, open the same document in each position and check the screen again. Record any separate monitor adjustment needed alongside the desk setting.
SmartNestLab Decision Table: Do You Need to Buy Anything?
The following is our editorial buying framework, not a product test. Identify the missing adjustment before choosing an accessory.
| Your situation | First option to investigate | Reason to skip or reconsider |
|---|---|---|
| The existing stand reaches a comfortable position | Keep it and record the setting | Another accessory may add little value |
| You need a fixed amount of extra height | A stable riser with suitable dimensions and capacity | Its minimum lift exceeds the gap you measured |
| You frequently reposition the screen | An adjustable monitor arm | The arm, monitor, or desk cannot support the intended installation |
| The screen already sits too high | Remove an existing riser or investigate a lower-reaching mount | Another shelf would add more height |
| You use a raised laptop as the main screen | A stand plus separate keyboard and mouse | Your desk cannot accommodate the complete arrangement |
UCLA’s ergonomics equipment guidance describes monitor arms as a way to adjust height and distance and recover desk space. Its selection criteria include adjustment range, capacity, stability, mounting options, and installation limitations. Source: UCLA office equipment guidance.
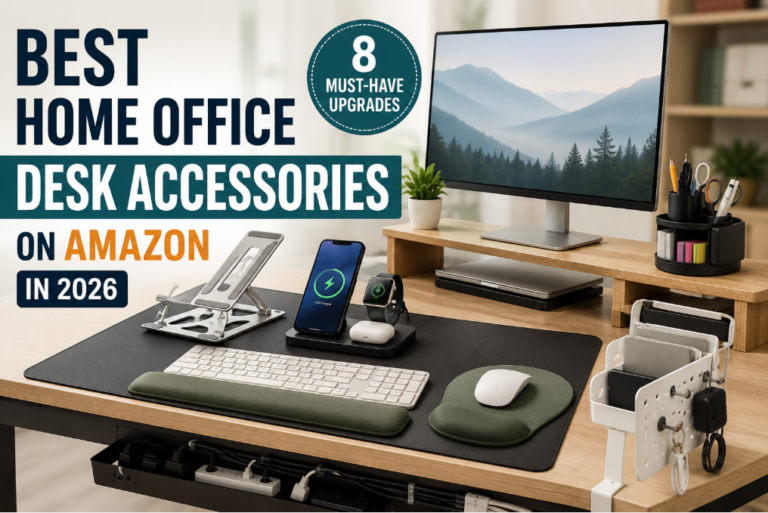
For a straightforward lift, our home office desk accessories guide includes monitor-riser and laptop-stand options. Check the current specifications against your measurements before choosing one.
Make a short shopping note
Record the monitor’s exact model, the extra height or lowering range required, the available desktop area, and any obstructions behind or underneath the desk. For an arm, check the monitor and mount manufacturers’ compatibility information and installation instructions.
Ask one concrete question of each candidate: “Will this let my screen reach the position I measured on this desk?” A product photo with an attractive workspace cannot answer that for you.
Also consider how often you will adjust it. A shared workspace may justify paying for easier movement, while a single-user desk that stays unchanged may have no use for that feature. This is a spending decision based on your workflow.
Before You Call the Setup Finished
Use this short record to make future changes easier:
- Current setup: chair setting, desk setting, and monitor model.
- Adjustment made: what moved, and approximately how much.
- Work checked: the applications and tasks you used.
- Remaining issue: a specific observation, rather than “the whole desk feels wrong.”
- Next step: keep the setting, try one further adjustment, or investigate a clearly defined equipment limitation.
Continue changing position and taking movement breaks throughout the day; a well-arranged desk does not make prolonged stillness the goal. Source: Mayo Clinic.
For the rest of your workspace, use our ergonomic home office setup guide. Keep the monitor adjustment that works for your everyday tasks, and spend only when your existing equipment has a limitation you can name.