Keyboard and Mouse Placement: A Home Office Setup Guide
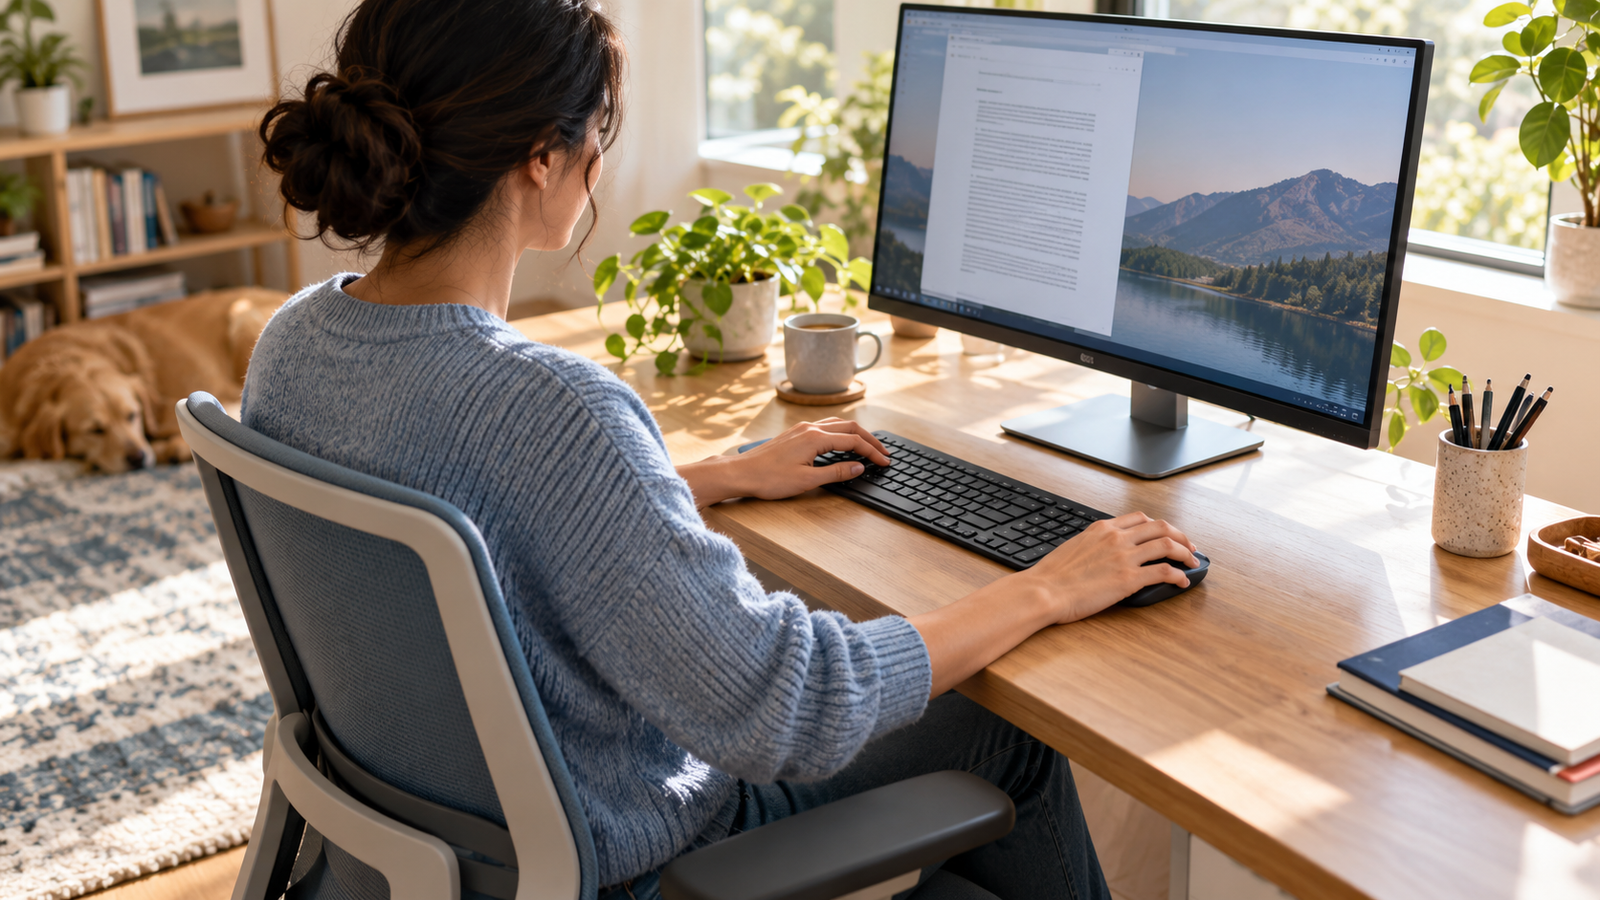
Keyboard and mouse placement can make a home office feel easier to use without replacing the whole desk. Start by sitting comfortably, put the keyboard directly in front of you, and bring the mouse beside it on the same surface. Keep your shoulders relaxed, your elbows near your sides, and your wrists roughly in line with your forearms. Then adjust the chair or work surface until that position is easy to maintain.
There is no single distance in inches that fits everyone. Your body size, keyboard width, chair, desk height, and the work you do all matter. This guide gives you a practical adjustment order, including solutions for a narrow desk, a laptop, and a keyboard tray. The aim is a comfortable, changeable setup, not a rigid pose or a claim that one accessory prevents injury.
Keyboard and Mouse Placement: A Five-Point Check
- Center the keyboard: place the main typing area in front of your body and primary screen, rather than lining up the entire width of a keyboard with a number pad.
- Keep it within easy reach: you should be able to type without leaning forward or straightening your elbows far away from your torso.
- Match the height: adjust the chair and work surface so your shoulders stay relaxed and your elbows sit around keyboard level; support your feet if raising the chair leaves them dangling.
- Bring the mouse close: keep it beside the keyboard at roughly the same height, where your upper arm can remain near your side.
- Check the wrists: look for a fairly straight line from forearm through hand while typing and mousing. Change height or angle if you are repeatedly bending up, down, or sideways.
These are starting points for keyboard and mouse placement drawn from OSHA’s keyboard guidance and the UK HSE workstation guide. Let comfort and the tasks you actually perform guide small adjustments.
Set the Chair and Desk Before Moving the Keyboard
Many keyboard problems begin above or below the keyboard. A desk that is high relative to the chair may make you lift your shoulders to type. A work surface that is too low can encourage a slumped posture or awkward wrist angles. Start in the chair you normally use: sit back with support, keep your feet on the floor or a stable footrest, and let your upper arms hang comfortably beside your torso. Then bring your hands toward the desk without shrugging.
Where do your hands naturally meet the work surface? The HSE’s standard setup shows the keyboard just below elbow height and the mouse roughly in line with the elbow. OSHA says the elbows should be around keyboard height with relaxed shoulders and straight wrists. Treat those as a useful range, not a measurement to force. If you need to raise your chair to reach a fixed desktop, restore foot support. If that still leaves the keyboard too high or the desk edge presses on your legs, a sufficiently wide adjustable keyboard tray or a different work surface may help. Our desk-height guide walks through that chair, feet, and desk sequence in detail.
Center the Typing Area, Not Necessarily the Whole Keyboard
Set the keyboard so the letters you use most sit directly in front of you and the screen you use most. With a compact keyboard, its physical center and the typing center may be close. With a full-size keyboard, the number pad shifts the typing area left of the keyboard’s midpoint. Sliding the entire device until its plastic case is centered can leave your hands offset from your torso, while a mouse placed beyond the number pad may force a long reach.
Test the position by typing a normal sentence. Are both upper arms comfortable? Are you rotating your torso to see the screen or reaching across your body? Move the keyboard a little at a time until the typing area, your body, and the primary screen feel aligned. If a second monitor sits to the side, center the display you use for most work rather than arranging everything around a rarely used secondary screen. Our monitor-height guide covers the screen’s vertical position once the input devices are settled.
Find a Comfortable Keyboard Distance
A keyboard pushed far back can make you lean forward or hold your arms out. One pulled right against your body can crowd your elbows or make your wrists bend. Sit upright, let your shoulders drop, bend your elbows naturally, and bring the keyboard to your hands. You should be able to reach the home row without repeatedly stretching the arms or bracing your wrists against a sharp desk edge. OSHA advises keeping the keyboard directly in front of you at a distance that lets the elbows stay close to the body and the forearms approximately parallel with the floor.
Leave usable space in front of the keyboard for your hands and forearms, but do not treat a wide empty strip as a goal in itself. If the desk is shallow, prioritize easy reach and readable screen distance together. Moving the monitor back on a suitable stand or arm may create room for input devices, provided the screen remains comfortable to read. Our monitor-distance guide explains that tradeoff.
Place the Mouse Beside the Keyboard
Put the mouse on the same work surface as the keyboard, close to the edge of the typing area, and within the reach of a relaxed arm. You should be able to switch from typing to pointing without reaching well forward or spreading your upper arm far to the side. The mouse does not have to sit on the right: choose the side and hand that work for your tasks and the device’s shape. Check whether the cable, a cup, or desk clutter slowly pushes it outward during the day.
CCOHS explains that there is no universally correct mouse spot; the test is whether you can operate it without excessive leaning or reaching. A number pad and navigation keys can push a conventional mouse farther away. A shorter keyboard may give you more room, but first see if a simple rearrangement solves the problem. OSHA also suggests a tray wide enough for both devices or another pointing-device arrangement when space is limited.
Keep the Wrists Comfortable Without Freezing Your Hands
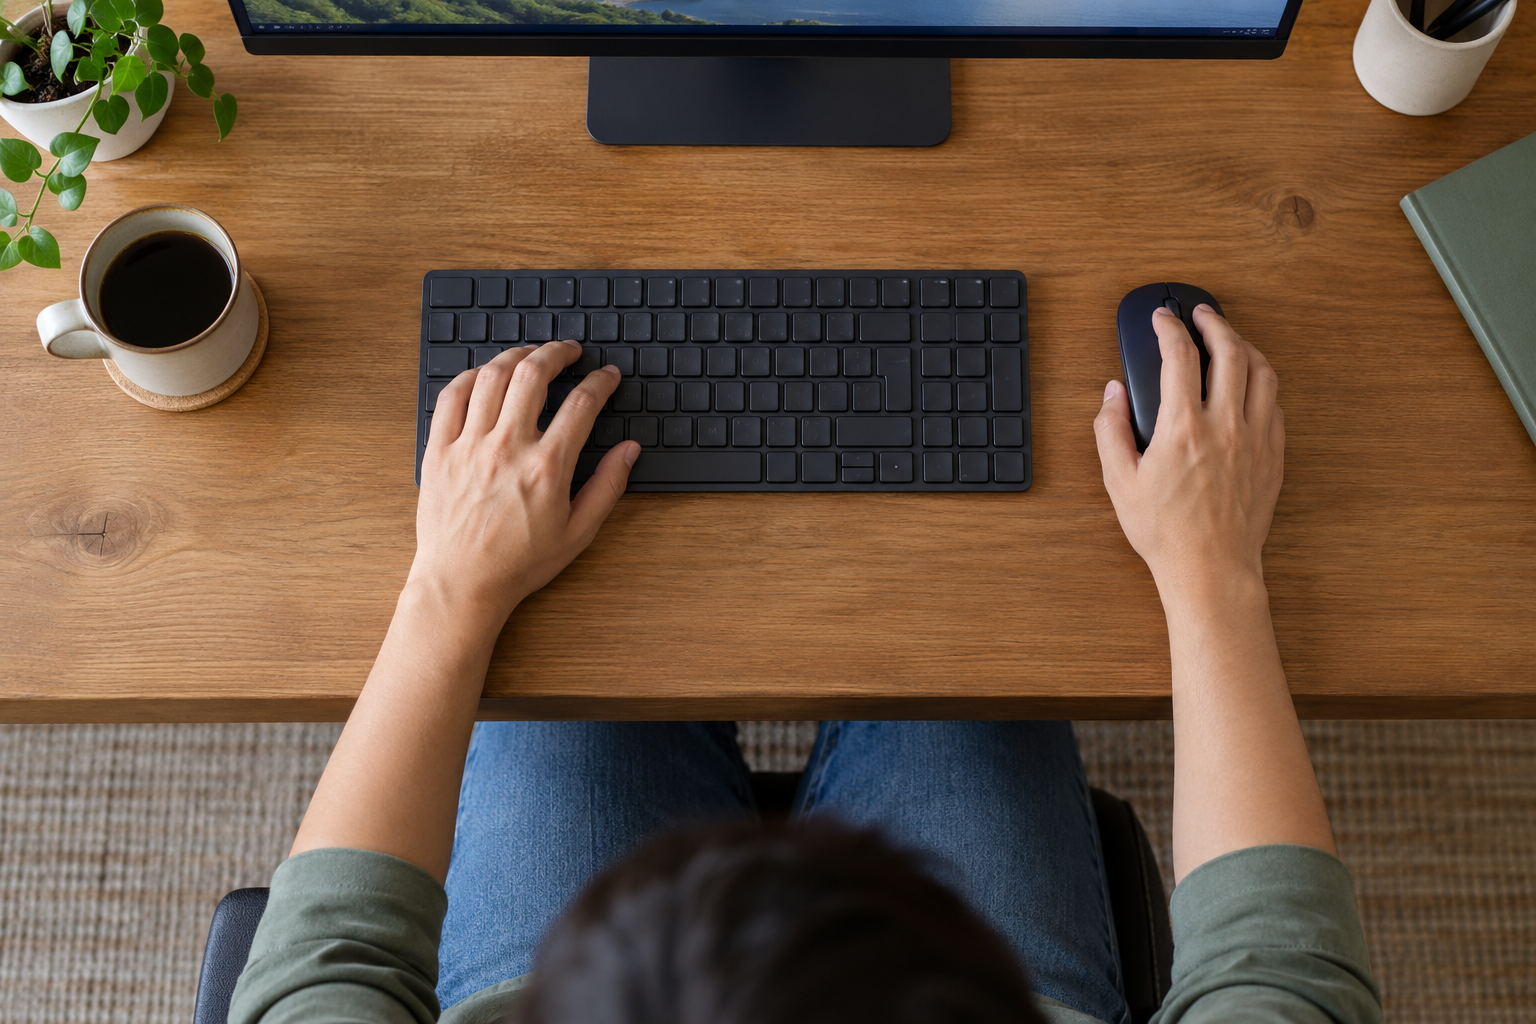
Look from the side and above while you type. Ideally, your hands and forearms form a mostly straight line instead of the wrists being sharply bent upward, downward, or toward the little-finger side. A high desk, a thick keyboard, or the rear feet of a keyboard raised steeply can change that angle. Try adjusting the chair, work surface, keyboard tilt, and hand position one at a time. Do not flip up the keyboard feet automatically; OSHA says to use a tilt only when it helps you maintain a neutral wrist.
Resting the weight of the wrists on a hard desk edge while actively typing can add contact pressure. A palm or wrist support is optional, not a universal fix. CCOHS notes the debate: a support may ease tension for some setups, but heavy or prolonged pressure under the wrist can cause problems. If you use one, keep contact light and check that it does not force a bend or press into the underside of the wrist. A soft edge, appropriate forearm support, and a better height may be more useful than adding a thick pad.
What to Do on a Narrow Desk
| Problem | Try first | Only if needed |
|---|---|---|
| Mouse sits beyond a number pad | Clear the nearby desk area and move the mouse closer | Try a shorter keyboard or separate number pad |
| Keyboard and mouse do not fit on a tray | Use the desktop if its height works for both | Choose a wider adjustable tray with adequate leg clearance |
| Monitor base crowds the input area | Move the base back while keeping text readable | Consider a compatible monitor arm or stand |
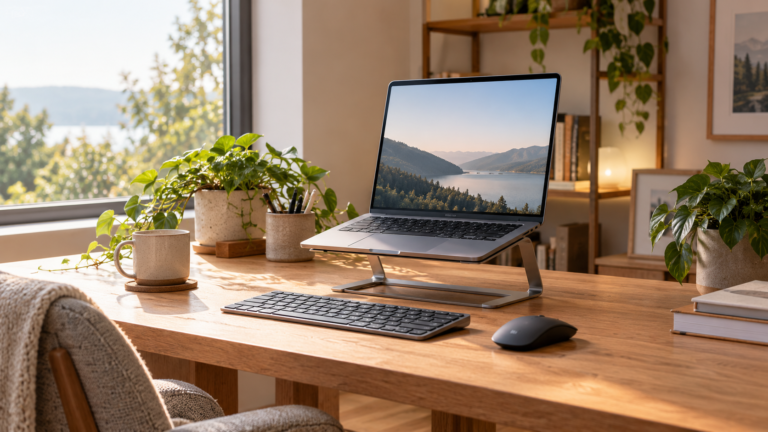
| Laptop occupies the typing zone | Separate the screen from the input devices for long sessions | Use a stable riser with a separate keyboard and mouse |
A small desk does not automatically require more accessories. Remove infrequently used items, route a cable behind the desk, and put the mouse where you can actually reach it before buying a new keyboard. If you do need a tray, verify that it accommodates both devices, adjusts to a useful height, and leaves enough space for knees and thighs. If a monitor arm is part of the plan, check mount and desk compatibility; our monitor-arm buying guide covers those fit questions.
If You Work on a Laptop
The built-in laptop keyboard fixes the screen and keys in one position. For brief tasks, that compromise may be acceptable. For regular desk work, a separate keyboard and mouse let you raise and position the laptop screen without moving your hands too high or too far away. The UK HSE specifically recommends separate input devices for prolonged laptop use so the screen can be elevated.
Position the separate keyboard and mouse using the same chair-first sequence above. Then place the laptop screen where it is readable without leaning. Our ergonomic laptop setup guide gives the complete workstation sequence. If you need a support, our laptop-stand buying guide compares fixed, adjustable, and portable options; a stand is useful only when its height and stability fit your actual setup.
Fine-Tune the Mouse, Then Change Position During the Day
After placement, make small pointer adjustments. If you repeatedly lift the mouse or sweep your arm across the desk, try changing the system’s pointer speed. If the cursor is hard to control, reduce the speed or try a device that fits your hand better. OSHA advises a sensitivity that lets you move across the screen while keeping a relatively straight wrist, using a light grip. A vertical mouse, trackball, or special keyboard might suit some users, but no one design is best for everyone; try it before assuming the label “ergonomic” guarantees comfort.
Even a well-placed keyboard and mouse cannot make hours of stillness ideal. Change tasks or get up regularly, and notice whether you gradually start reaching, pressing into the desk edge, or raising your shoulders. If pain, numbness, or tingling persists, seek appropriate professional advice rather than trying to diagnose it from a desk diagram. The HSE work-routine guide favors frequent short breaks over one long break after a lengthy screen session.
Common Placement Mistakes
- Centering the keyboard case: with a number pad, the letter keys may still be off to one side. Center the part you actually type on.
- Pushing the mouse behind the keyboard: this makes a small but repeated forward reach. Bring it beside the typing area.
- Using a tray that fits only the keyboard: the mouse ends up on another height or too far away. Both devices need usable space.
- Raising the rear feet by default: check your wrist angle; a steeper tilt may make it worse.
- Raising the chair without supporting the feet: solve the keyboard height without creating a new leg-support problem.
- Buying a wrist rest first: correct height, distance, and hard-edge pressure before adding accessories.
- Holding one “perfect” pose all day: take breaks and vary your position.
Frequently Asked Questions
How far from the desk edge should my keyboard be?
There is no universal edge distance. Place it where you can type with relaxed shoulders, elbows near your body, and no sharp pressure from the edge on the underside of your wrists or forearms. Leave only the space that helps you work comfortably.
Should the mouse be level with the keyboard?
Usually, keeping both on the same surface makes it easier to switch tasks without lifting the shoulder or reaching. A separate mouse platform can work when it remains close and its height allows a comfortable arm and wrist position.
Is a compact keyboard always better?
No. It can create more room for a mouse, especially if a full-size keyboard’s number pad pushes it outward. Keep the larger board if you need the number pad and can position the mouse comfortably. Try an arrangement before replacing a working device.
Do I need a wrist rest?
Not necessarily. First adjust height, reach, keyboard angle, and the desk edge. If a support helps, avoid pressing the wrist heavily into it while typing, and check that it does not bend your hand upward.
A Two-Minute Setup Test
Use this two-minute keyboard and mouse placement test: sit with supported feet and relaxed shoulders. Pull the keyboard into a position where the letter keys face your torso and your elbows can stay near your sides. Put the mouse immediately beside the typing area. Type a sentence, then use the mouse for a minute. If your shoulders rise, your torso twists, your arm reaches outward, or your wrists bend sharply, change one thing—chair height, keyboard location, mouse location, or tilt—and test again. Recheck after a normal work session, when clutter and habits reveal the real arrangement.
For a wider workstation review, see our ergonomic home-office checklist. The keyboard and mouse work best as part of a setup that also considers the chair, desk, display, lighting, and movement.