How to Set Up a Laptop Ergonomically at a Home Office Desk
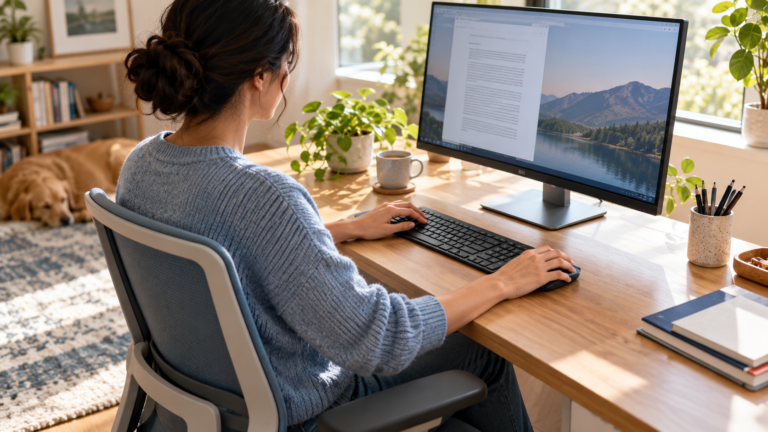
An ergonomic laptop setup starts by separating two things a laptop joins together: the screen and the keyboard. At a home-office desk, raise the display to a comfortable viewing position, then use a separate keyboard and mouse within easy reach. Adjust the chair and desk so your shoulders can relax, your feet are supported, and you can read the screen without leaning forward.
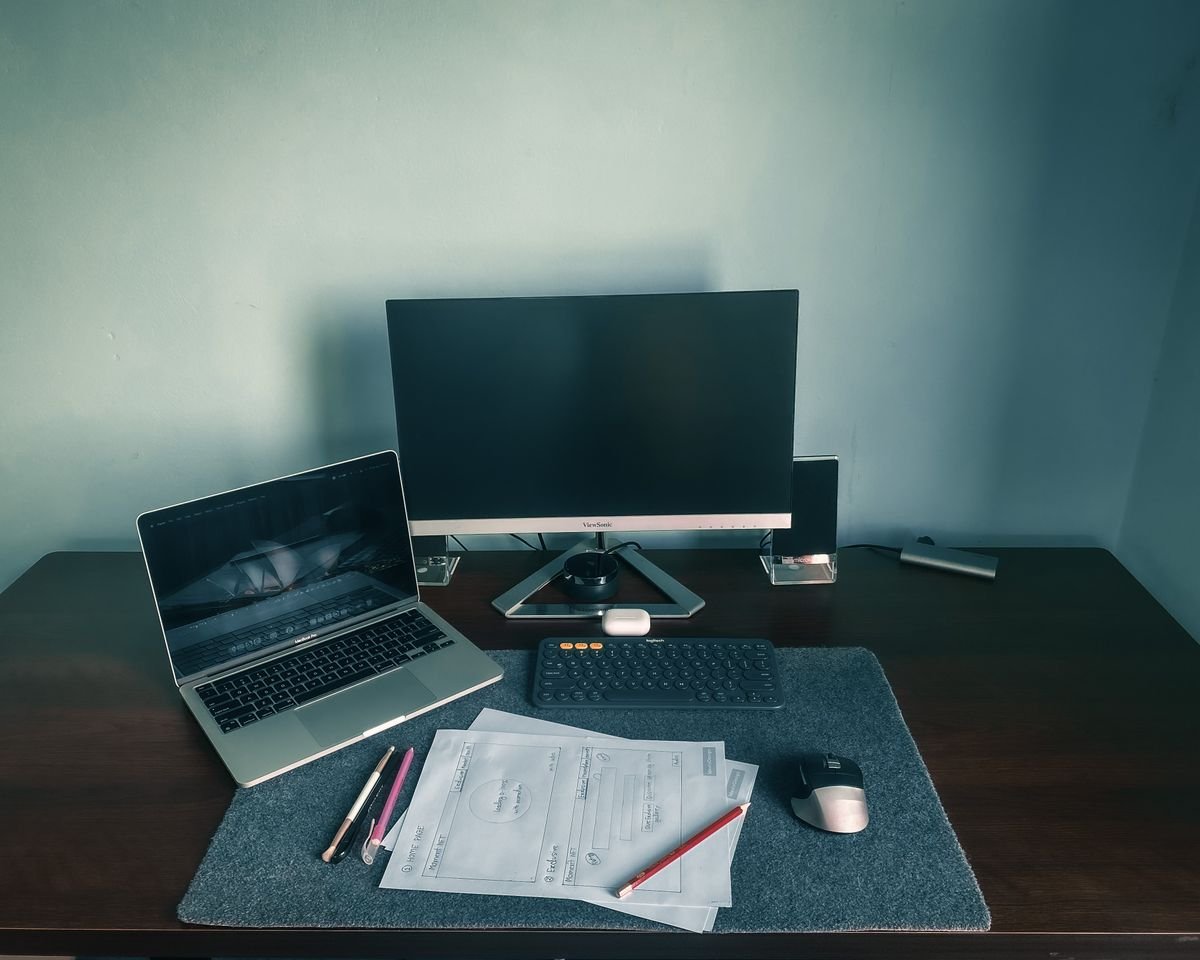
You do not need a complicated docking station or a premium stand to make this work. A stable riser, the input devices you already own, and a few minutes of adjustment may be enough. The right arrangement depends on how long you use the laptop, the size of your desk, and whether you also have an external monitor.
The Short Answer: Three Useful Laptop Setups
| Setup | When It Makes Sense | Main Tradeoff |
|---|---|---|
| Laptop alone on the desk | Brief, occasional sessions | The screen and keyboard cannot be positioned independently. |
| Laptop on a stable riser with separate keyboard and mouse | Regular work on one laptop screen | Uses more desk space and two extra devices. |
| External monitor with separate keyboard and mouse | Long sessions or work needing more screen area | Costs more and needs enough desk depth and cable space. |
The UK Health and Safety Executive advises a separate keyboard and mouse for prolonged laptop use so the screen can be elevated on a riser. OSHA likewise recommends external input devices for laptops used for prolonged typing. These are workstation principles, not a promise that a particular accessory will prevent pain. The aim is to reduce awkward reaching and make position changes easier.
Why a Laptop Alone Is a Compromise
A laptop is designed to travel. Its built-in keyboard sits directly below the screen, which is convenient on a train or at a café. At a desk, however, one placement has to serve both your hands and your eyes. Pull the keyboard close and the display may sit low and close. Push the laptop away to see the display more comfortably and you may reach forward to type. Raise the laptop for the screen and the attached keyboard rises with it.
That is why buying a stand alone often disappoints. Once the laptop is raised, its keyboard and trackpad are awkward to use for sustained work. Add a separate keyboard and mouse first, or plan to add them with the stand. If your current setup already feels comfortable for an occasional short task, there is no need to buy equipment just to follow a diagram.
A Six-Step Ergonomic Laptop Setup
1. Set your chair and feet before moving the laptop
Sit at the desk as you normally work. Let the chair support your back, keep your feet on the floor or a stable footrest, and leave room under the desk to move your legs. If you must raise the chair to reach a high desktop, check whether your feet lose support. This is a desk-height problem rather than a reason to hold your shoulders up all day. Our guide to finding a comfortable home-office desk height explains the adjustment order.
2. Put the external keyboard and mouse where your hands naturally land
Place the keyboard directly in front of your body, close enough that your upper arms can stay near your sides. Let your shoulders relax and avoid bending your wrists sharply upward. Keep the mouse on the same work surface and within easy reach. A compact keyboard can free space for the mouse on a narrow desk; CCOHS notes that a shorter keyboard may reduce sideways reaching. Move the input devices until typing and pointing feel easy before finalizing the screen position. For a closer look at keyboard width, mouse reach, and desk height, see our keyboard and mouse placement guide.
3. Raise the laptop screen on a stable support
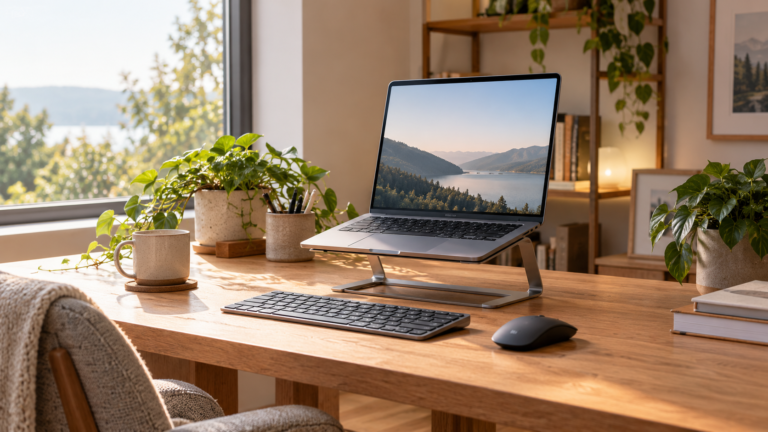
With separate input devices in place, put the laptop on a stable riser. Use the top of the visible screen near eye level or slightly below as a starting point, then adjust for your eyesight, glasses, and comfort. The main viewing area should allow a gentle downward gaze without tipping your head forward. A stand should hold the laptop securely and leave its manufacturer-specified ventilation openings clear. Avoid an unstable stack of loose books that could slide or obstruct airflow.
The exact height is personal. Our monitor-height guide explains why the screen’s top edge is only a starting reference, especially for people who use bifocals or progressive lenses.
Fit reminder: adjust screen height and hand position for your own setup; a workspace photograph does not establish a measured fit.
4. Set viewing distance and text size together
Start with the display roughly an arm’s length away, then adjust it so you can read normal work without leaning toward the screen. A small laptop may require a closer position or larger text; do not force a distant screen just to match a measurement. Increase operating-system scaling or application zoom before sacrificing a relaxed posture. Keep the screen centered with the keyboard when the laptop is your primary display. See our full guide to monitor viewing distance for how screen size and text affect the result.
5. Check reflections at your actual working position
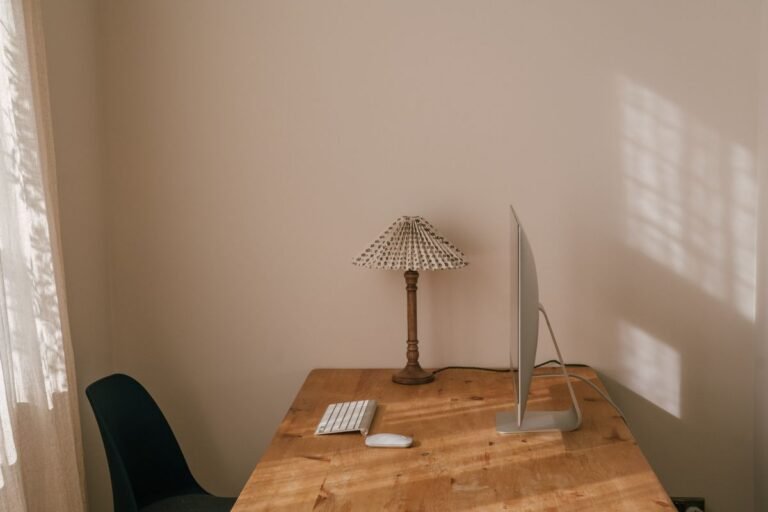
Raising a laptop can change what its glossy screen reflects. Sit in your normal position and open a light and a dark page. If you see a window, ceiling fixture, or lamp reflected in the display, adjust the screen angle, blinds, or desk position. A side window is often easier to manage than one directly behind you or the laptop. Our monitor-glare checklist covers the no-cost fixes in more detail.
6. Work briefly, then make one adjustment at a time
Use your usual documents for a short session. Notice whether you repeatedly lean in, raise your shoulders, reach for the mouse, or crane your neck to see the upper or lower part of the display. Adjust one variable at a time: chair height, keyboard position, screen height, distance, or text size. The UK HSE recommends frequent short breaks from display-screen work rather than saving all movement for one long break. Changing position is part of the setup, not a sign the setup failed.
Laptop Stand or External Monitor: Which Should You Choose?
A laptop stand is a practical first step when the laptop display is large enough for your tasks and you can place it at a comfortable distance. Look for a stable base, suitable width and weight capacity, adjustment that does not slip, and clearance around the device’s vents. A simple fixed riser may be sufficient if your chair and desk do not change height. Check compatibility with your particular laptop before purchasing.
An external monitor can be more useful when you need larger text, multiple windows, or more freedom to position the main screen. The laptop can remain open as a secondary display or be closed if its manufacturer permits closed-lid operation and ventilation remains appropriate. If you use the external display for most work, center it in front of you; avoid turning your neck toward a side screen for hours. For a shallow desk, confirm that the monitor can sit far enough back without pushing the keyboard to the edge. A monitor arm can help with clearance, but only when its mount and capacity fit the desk and screen.
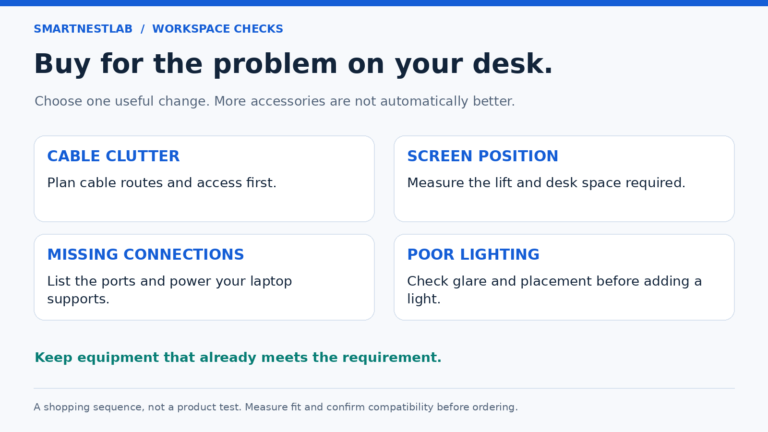
Our home-office desk accessories guide includes a laptop-stand option and other small-space tools. It is a buying guide with affiliate links; this article’s setup advice does not depend on purchasing any particular product. For a closer comparison of fixed, adjustable, and portable designs, see our laptop stand buying guide.
If a raised laptop, external monitor, and separate input devices leave you short of ports, see our USB-C hub vs docking station guide. Check your exact laptop’s display and charging support before choosing an accessory, and leave enough cable slack around the stand. If you need one HDMI display and extra ports, our Anker 555 home-office fit guide explains what to verify before buying.
If you already have a hub and a connection stopped working after rearranging the desk, troubleshoot before buying another accessory. Save your work, inspect whether the stand or cable route is pulling a connector, and follow our HDMI troubleshooting steps for a blank external screen or our hub charging checks for a power problem. Record the exact laptop, hub, ports, and cables so a layout change is not mistaken for a missing feature.
What If You Have Very Little Desk Space?
Prioritize the parts you touch and view all day. A compact keyboard leaves room for the mouse; a stable riser can free space below the laptop; and moving rarely used objects off the desk can help more than adding another accessory. Preserve enough depth to keep the screen readable without crowding the keyboard. Keep cables away from the mouse and your legs, and make sure a clamp-on support will actually fit the desk edge before buying one.
If you alternate between a dining table and a dedicated desk, make a small repeatable kit: laptop, stable portable riser, keyboard, mouse, and charger. You may not match the same measurements in every location. Focus on easy reach, readable text, supported seating, and regular position changes rather than trying to build a permanent workstation in every room.
Common Mistakes to Avoid
- Raising only the laptop: The built-in keyboard and trackpad rise with the display. Add separate input devices for regular desk work.
- Using the stand as a cure-all: A stand cannot fix a high desk, unsupported feet, or a mouse placed too far away.
- Placing the screen too high: If you tip your chin up or use progressive lenses, lower the display until the working area is comfortable.
- Forcing arm’s-length distance: Increase text size or move a small screen closer when you cannot read it comfortably.
- Using a slippery or undersized riser: Check stability, device fit, and ventilation before working on it.
- Ignoring the secondary display: The screen you use most should generally face you, whether that is the laptop or an external monitor.
- Staying still because the setup looks correct: Take breaks and change posture during the day.
Frequently Asked Questions
Can I use a laptop stand without an external keyboard?
For a brief task, you can. For regular typing, raising the laptop often makes its attached keyboard and trackpad too high or too far away. A separate keyboard and mouse let you set the display and your hands independently.
How high should my laptop screen be?
Start with the top of the visible screen near eye level or a little below, with the main content in a comfortable downward viewing zone. Adjust for your glasses, screen size, and whether your neck stays relaxed. There is no universal riser height.
Is an external monitor necessary?
No. A laptop screen on a stable riser can work well if it is readable at a comfortable position. An external monitor becomes more useful when the screen is too small for your tasks, you need more workspace, or you cannot place the laptop display comfortably.
Where should I put the mouse?
Keep it beside the keyboard, at a similar height, and within easy reach so you do not repeatedly extend your arm. If a full-size keyboard pushes it away, try a shorter keyboard or rearrange the desk.
The Practical Recommendation
For daily laptop work at a home-office desk, start with a separate keyboard and mouse, then raise the screen on a stable support. Set your chair, hand position, screen height, distance, and text size in that order. Check glare and ventilation, and make small changes based on the tasks you actually do. Add an external monitor only when the laptop display itself limits your work.
For the rest of the workstation, our ergonomic home-office guide connects the chair, desk, screen, keyboard, lighting, and movement habits in one checklist.